Repair technology and skills for damage of tractor first shaft and first and second driving gears
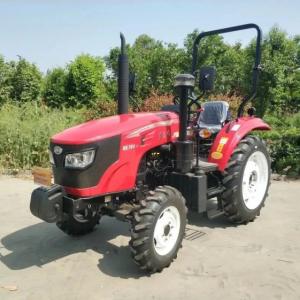
Recently, some users reported that the gearbox of a second-hand tractor they bought made abnormal noise. During disassembly, inspection and maintenance, it was found that the gear of the first and second driving gears was damaged. The tractor is an FT40 series tractor. FT40 Series Tractor model is a classic tractor launched by Futian company in the early stage. It has a large market share. Now it has been upgraded to 80 horsepower. It is very popular in the market and sells well. It has a large sales volume every year. Today, let's introduce the inner shaft of the transmission (common for single and double acting clutches), skeleton oil seal pg40 * 62 * 10 Repair process in case of damage to bearing 6306n, 1st driving gear, 1ST-2ND gear spacer, 2nd driving gear, 3rd gear bushing, 3rd driving gear, 3rd-4th meshing gear seat, 3rd-4th meshing sleeve and other parts.

The 1st shaft and 1st / 2nd driving gear are damaged
Domestic tractors are mainly used for three purposes: rotary tillage, ploughing and transportation. When working in the field, the tractor's working environment is relatively bad, the working load is heavy, and it is uneven from large to small. When the tractor carries out farmland operation with rotary cultivator and plow, there are sometimes various problems with the tractor gearbox, If the first shaft, frame oil seal pg40 * 62 * 10, bearing 6306n, 1st driving gear, 1ST-2ND gear spacer, 2nd driving gear, 3rd gear bushing, 3rd driving gear, 3rd-4th meshing gear seat and 3rd-4th meshing sleeve in the tractor gearbox are damaged, the tractor will not work normally. At this time, it is necessary to repair the tractor gearbox and replace the damaged parts, The specific maintenance process is as follows:
First of all, it is necessary to break the waist of the tractor. When breaking the waist, we must pay attention to safety, safety first.
The first step is to park the tractor in a relatively open, flat and hard place. It is best to harden the ground with cement, and the rear wheels are firmly supported with skids. It should be noted that direct waist breaking maintenance in the field should be avoided as far as possible. The field ground is soft and the safety is not good.
Step 2: firmly support the lower middle part of the tractor gearbox with a mobile jack, squeeze both sides of the front axle swing shaft with skids to prevent the engine from swinging left and right, and firmly support the lower end of the oil pan with a mobile Jack.
Step 3: remove fixing bolts of tractor gearbox and engine, various oil pipes (steering oil pipe, elevator oil pipe, fuel pipe), cables, lines and other accessories.
Step 4. Check the support position, confirm that the support of each part is firm, and the jack is locked in the lifting state, then disconnect the waist, disconnect the engine from the gearbox, and slowly push the engine straight ahead when disconnecting, paying attention not to skew.
Step 5: after the engine is disconnected and moved to the required position, first use wooden piers to pad and support under the engine and gearbox, and support the front wheel with wooden pads to confirm that the engine, swing shaft and gearbox have been supported.
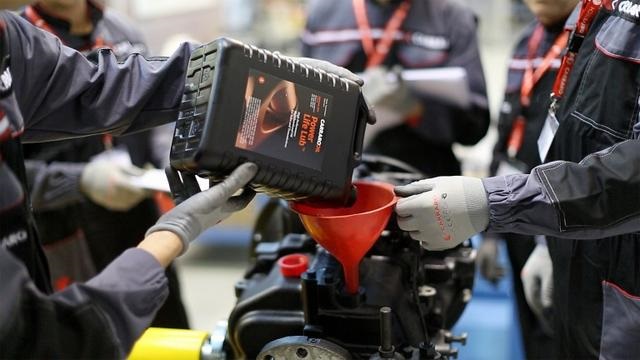
It should be noted that after disconnecting the waist, the engine and gearbox must be firmly supported to ensure safety. After the waist is broken and the support of each part is confirmed, the gearbox and other parts can be repaired, and the first shaft, skeleton oil seal pg40 * 62 * 10, bearing 6306n, 1st driving gear, 1ST-2ND gear spacer, 2nd driving gear, 3rd gear bushing, 3rd driving gear, 3rd-4th meshing gear seat, 3rd-4th meshing sleeve and other parts can be replaced
Step 6. Drain the lubricating oil from the rear axle.
Step 7 remove the upper cover of the gearbox (shift lever seat).
Step 8 remove the release bearing and the first shaft bearing cover.
Step 9: pad the copper bar to the rear side of the 1st driving gear, hit the 1st driving gear from back to front with a hammer, take out the first shaft from the front of the gearbox, and the parts on the first shaft can be taken out at this time.
Step 10. Put the removed parts into the prepared gasoline or light diesel for cleaning.
The first ten steps are mainly to remove the damaged first and second gear driving gears, check whether there are other associated damaged parts, and clean up the foreign matters in the box. The disassembly principle in maintenance is to remove the least parts, repair the machine, and try not to remove the parts that can not be removed. Replace the above damaged parts and components before assembly.
Step 11. Before assembly, check whether the bearing 6208 is installed on the first shaft in place. If it is not in place, the bearing tooling can be used to drive the bearing against the first shaft Φ 40on the retaining ring for the shaft.
Step 12. Install the first shaft assembly through the box from front to back, and then install the 1st driving gear, the 1ST-2ND gear spacer, the 2nd driving gear (shoulder facing forward), the 3rd gear bushing, the 3rd driving gear (28 tooth side facing forward), the 3rd-4th meshing gear seat and the 3rd-4th meshing sleeve on the 1st shaft spline, and align the 1st shaft. There shall be no gap between the parts.
Step 13 install the 1 shaft bearing cover assembly as required (Note: the oil seal lip shall not be damaged). Install the clutch release bearing and other parts.
The main idea here is to check the rotation flexibility of shaft 1. There shall be no clamping and linkage with relevant parts. The axial movement is 0.1-0.2mm.
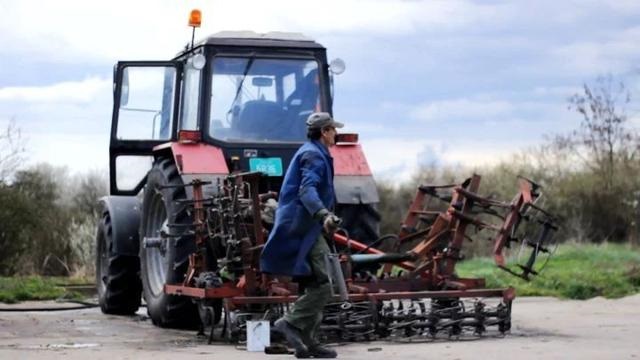
Step 14: close the gearbox and engine. When closing, first remove the front wheel skid and confirm that the swing shaft, oil pan and gearbox are firmly supported. When closing, first align the spline hole of the positive clutch with the power driving shaft and the spline of the first shaft of the transmission, and then align and close.
Step 15. After closing, install the connecting bolts of gearbox and engine and tighten them according to the specified torque, connect various oil pipes, stay wires, lines and other accessories, and remove the jacks, wooden piers and skids under the engine and gearbox after confirming that all parts are firmly connected.
Step 16. Check the connection of each part, install the power take-off shaft and accessories of each part, add oil, confirm that the installation is complete and correct, and conduct commissioning after the connection is firm.
After the test run confirms that all parts are normal, the tractor maintenance is completed and the operation can be carried out.

